The Anchorage
Personal website of Gregory K. Maxey, Commander USN (Retired)
The Anchorage
Personal website of Gregory K. Maxey, Commander USN (Retired)
The information, illustrations and code contained in my "Microsoft Word Tips" are provided free and without risk or obligation.

However, the work is mine. If you use it for commercial purposes or benefit from my efforts through income earned or time saved then a donation, however small, will help to ensure the continued availability of this resource.
If you would like to donate, please use the appropriate donate button to access PayPal. Thank you!
This Microsoft Word Tips & Microsoft Word Help page introduces "DocBunder." DocBundler is a document automation process developed by former Word MVP Greg Maxey (me). It consists of a central Data Sheet template containing VBA processing instructions, and a set of related templates that you can customize and use to create sets (or "bundles") of Word Documents that draw data from the Data Sheet.
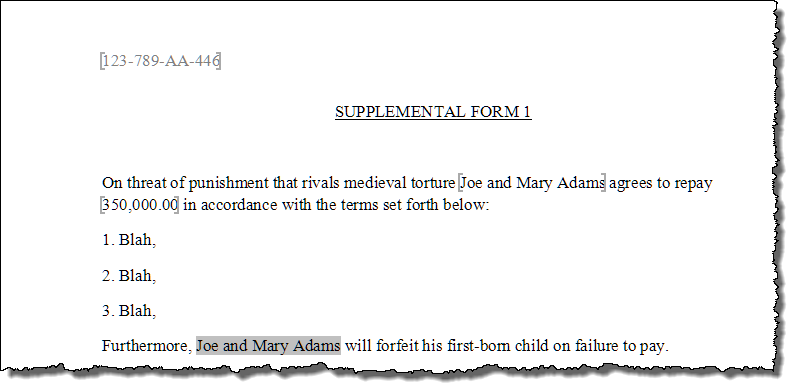
For example, consider a "Settlement Statement" from a mortgage company. This type of form is often accompanied by a half a dozen or so additional forms where each shares common data (i.e., borrower's name, addresses, loan numbers, loan amount, etc.).
Rather than prepare each form individually, you can use a custom Data Sheet template to collect the required data for all of the related forms and a set of custom document templates to generate the Settlement Statement and related forms as a bundled document set automatically.
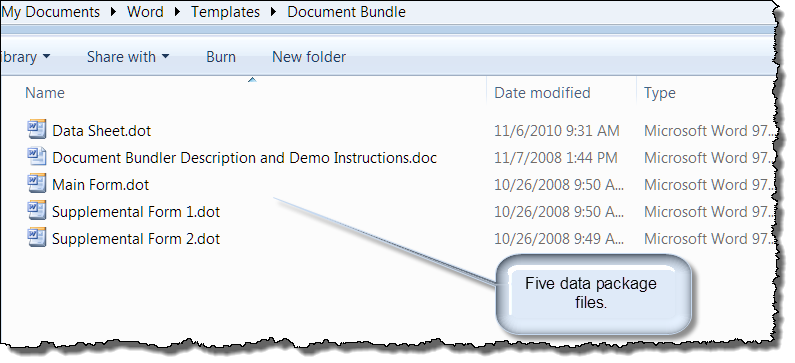
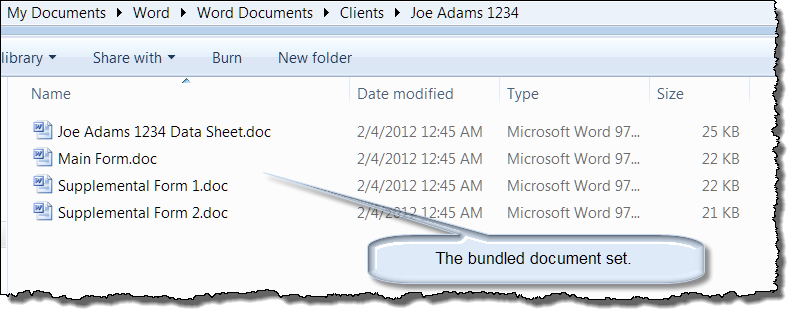
To illustrate this process, you can down load one of two (or both) zip packages that comes with a DocBundler description and instructions document, a simplified demonstration "Data Sheet" template (Data Sheet.dot), and three simple form templates "Main Form.dot," "Supplemental Form 1.dot" and "Supplemental Form 2.dot."
One package contains Word97-2003 .dot templates (works with Word 2007-2010), the other package was developed for Word 2007-2010 to employ the new content controls. Download: Word 2003 and/or Word 2007-2010.
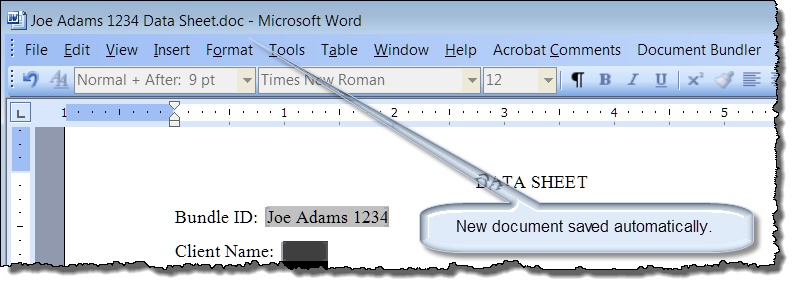
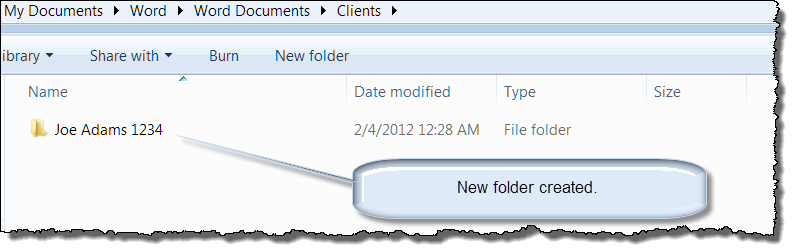
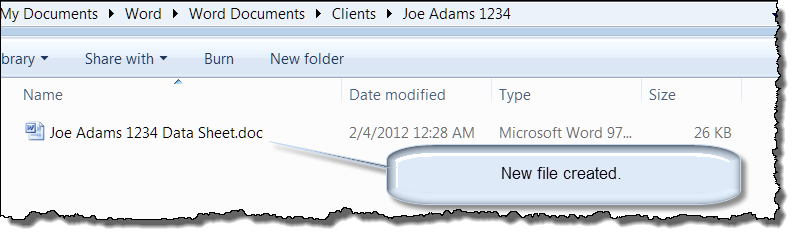
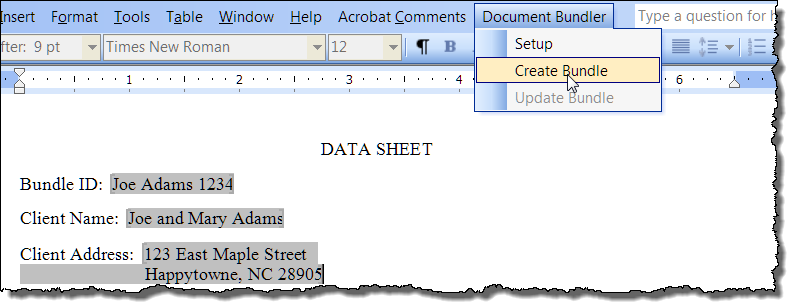
Follow these steps to create your first bundled document set:
![]() Notes:
Notes:
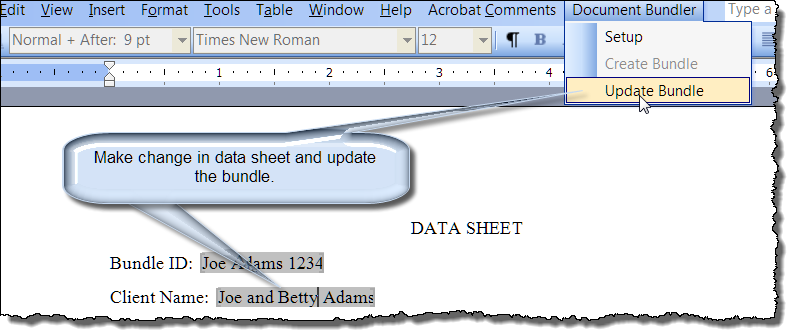
1.The setup displays automatically on first use. Thereafter it can be displayed using the "Setup" command on the menu incorporated with the Data Sheet template.
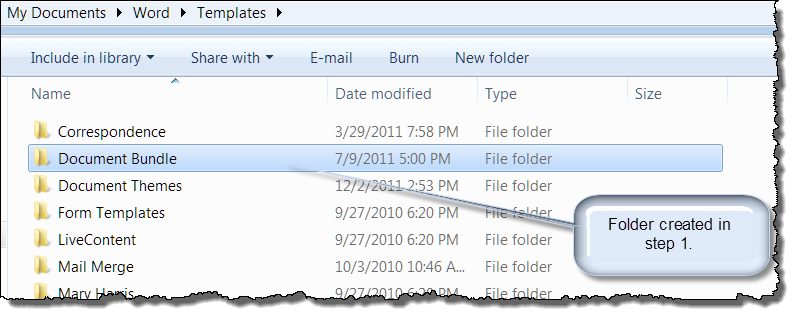
2. You can rename your template and bundled document folders created in steps 1 and 3 anything you like before saving the setup.

Now that you have seen the working example, the next step to creating your own custom process is simple.
![]() Note: DO NOT alter or modify the BundleID formfield
Note: DO NOT alter or modify the BundleID formfield
![]() Note: This tips page, illustrations and examples were developed using Word 2003. It is wholly functional with Word 2007-2010 (menu commands propagate on the Add-Ins tab).
Note: This tips page, illustrations and examples were developed using Word 2003. It is wholly functional with Word 2007-2010 (menu commands propagate on the Add-Ins tab).
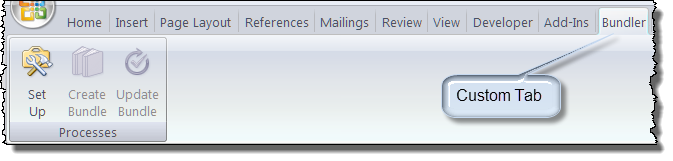
The Word2007 version uses a custom ribbon tab "Bundler" in lieu of a "Document Bundler" menu command. It also incorporates the new content controls for entering data.
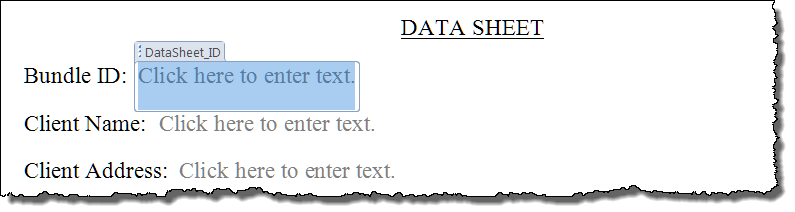
![]() There is a bug in Word 2007 content controls that precludes setting the focus in the content control automatically or making a direct selection. The Data Sheet in the Word 2007-2010 package contains a "Double-click here to start" MacroButton field in the document. Double-click as indicated in the template to set focus in a content control titled "Bundle ID."
There is a bug in Word 2007 content controls that precludes setting the focus in the content control automatically or making a direct selection. The Data Sheet in the Word 2007-2010 package contains a "Double-click here to start" MacroButton field in the document. Double-click as indicated in the template to set focus in a content control titled "Bundle ID."
That's it! I hope you have found this tips page useful and informative. Special thanks to friend and Word MVP Graham Mayor for his dogged development reviews and criticism which led to many improvements.
The information, illustrations and code contained in my "Microsoft Word Tips" are provided free and without risk or obligation.
However, the work is mine. If you use it for commercial purposes or benefit from my efforts through income earned or time saved then a donation, however small, will help to ensure the continued availability of this resource.
If you would like to donate, please use the appropriate donate button to access PayPal. Thank you!
This page was last updated on
March 09, 2021
Website
Privacy Statement
Back to top ![]() Back to
Word Tips
Back to
Word Tips